Tutorial

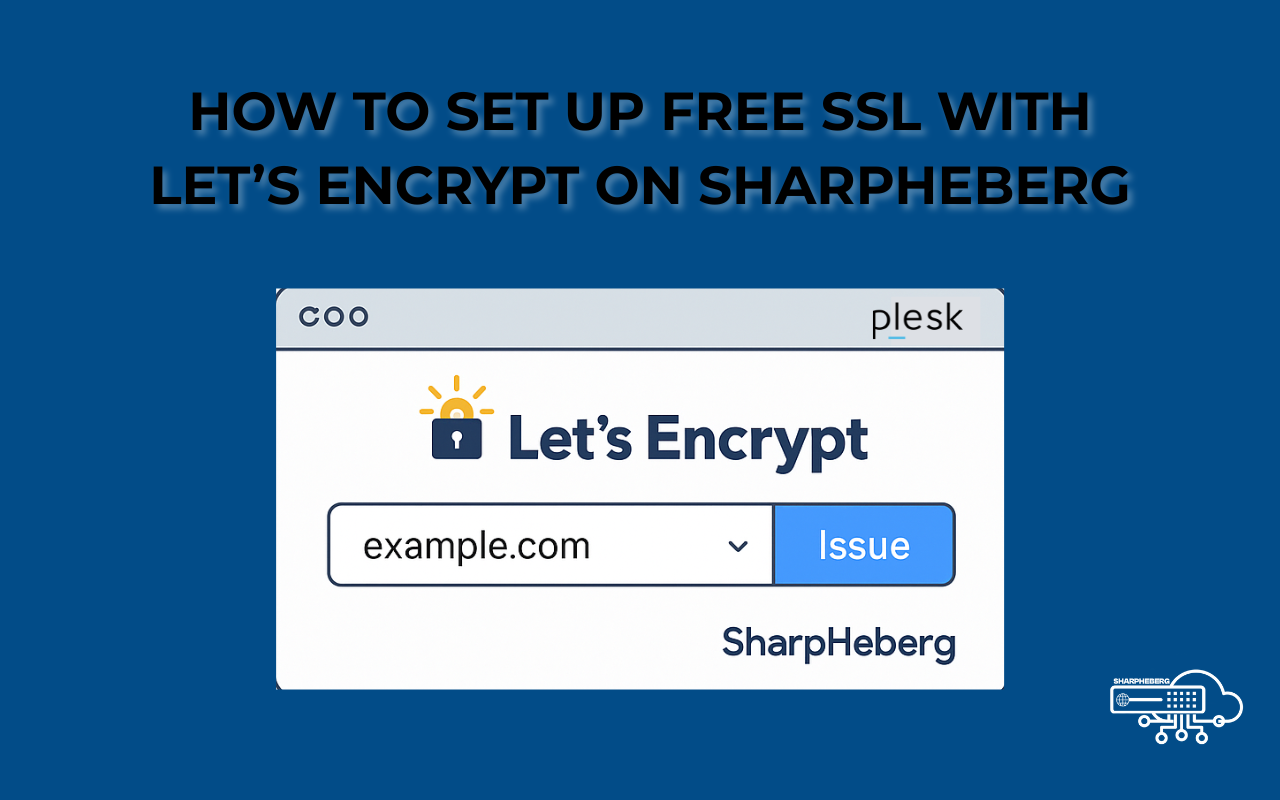
How to Set Up Free SSL with Let’s Encrypt on SharpHeberg

If you’re looking to improve your website’s security, this guide will show you how to set up free SSL ...


Blog

SharpHeberg vs Hostinger: Which Offers Better Hosting in 2025?

Introduction

In 2025, the competition between SharpHeberg and Hostinger is heating up. With users demanding faster, safer, and more transparent web hosting, the question "SharpHeberg vs Hostinger 2025" is more relevant than ever. Whether you're building a website, running a gaming server, or launching an online store, choosing the right hosting service makes all the difference. Here's a full comparison to help you decide.

🔧 1. Performance: Speed & Uptime

In the battle of SharpHeberg vs Hostinger, performance is one of the most important factors. Both providers offer strong infrastructure, but with different focus areas.

SharpHeberg delivers optimized performance for French and European audiences. Their servers consistently hit 99.95%+ uptime, and are tailored to game hosting (Minecraft, FiveM) as well as business websites.

Hostinger, on the other ha, has a global infrastructure with CDN and LiteSpeed. It performs well overall, but latency for European users can vary depending on server location.

Verdict: Tie, both are fast, but SharpHeberg wins for French-targeted performance.

💰 2. Pricing & Value

SharpHeberg starts at €1.59/month, with SSL, backups, and support included. Prices remain transparent with no hidden fees.

Hostinger starts higher at first glance (€1.99/month), but renewals are more expensive and some features are extra.

Verdict: SharpHeberg wins for long-term value and pricing clarity.

📞 3. Customer Support

SharpHeberg offers 100% French and English speaking support via ticket and email quick and human.

Hostinger has 24/7 support, but mainly in English and with heavy use of bots.

Verdict: SharpHeberg, especially for non-English speakers.

🌐 ...


Blog

Data Center Transparency: Where and How We Host Your Website

Introduction

At SharpHeberg, we believe hosting isn’t just about speed or price it’s about trust. And trust begins with transparency.

That’s ...


Tutorial

Top 7 Mistakes to Avoid When Hosting Your Website

When launching or managing a website, your hosting provider plays a crucial role in its speed, security, and overall success. However, many site owners make costly errors that could easily be avoided. In this guide, we’ll cover the most common web hosting mistakes to avoid and how to fix them so your site performs reliably from day one.

Here are the top 7 mistakes you should avoid when hosting your website.

1️⃣ Choosing the Cheapest Hosting Plan ...


BlogTutorial

Effortless Setup: Use Your Plesk Email in Gmail in 5 Easy Steps

Introduction

If you're managing your emails through Plesk and would rather keep everything tidy in your Gmail inbox, you're not alone. Whether you’re a small business owner or a freelancer managing client projects, having all your emails in one place boosts productivity. Gmail’s interface is clean, fast, and integrates well with other Google Workspace tools. So why not connect the two?

This guide walks you through how to configure your Plesk-hosted email account to work inside Gmail using POP3 for incoming and SMTP for outgoing emails.

How to Use Plesk Email in Gmail

Let’s get started by gathering what we need. You’ll need:

Your full Plesk email address (e.g., you@yourdomain.com)

Email password

POP3 and SMTP server details (usually provided by your hosting provider or found in your Plesk panel)

Step 1: Log into Gmail Settings

Open Gmail.

Click the gear icon in the top right.

Choose See all settings.

Navigate to the Accounts and Import tab.

Step 2: Add a POP3 Mail Account

In the "Import mail and contacts" section, click Import mail and contacts

Enter your Plesk email address and click Next.

Choose Import emails from my other account (POP3) and hit Next again.

Enter the following:

Username: your full email (e.g., you@yourdomain.com)

Password: your email password

POP server: mail.yourdomain.com 

Port: 110

Optional: check "Label incoming messages" to organize better.

Click Add Account.

Step 3: Set Up SMTP for Sending Emails

After adding your POP3 account, Gmail will ask if you want to send emails as this address.

Select Yes, then click Next Step.

Enter:

SMTP Server: mail.yourdomain.com

Port: 465

Username: same full email address

Password: same as before

Secure connection using SSL

Click Add Account.

Step ...


Hosting Tips

Shared Hosting vs VPS Hosting: Best Option in 2025

Introduction

In 2025, the success of a website doesn’t just depend on design and content — hosting is a major ...


BlogHosting Tips

What Is WordPress? Why It’s the World’s Most Used CMS in 2025?

What Is WordPress?

In 2025, WordPress continues to dominate the digital landscape, standing out as the wordpress popular cms 2025. Originally ...


Hosting Tips

Boost Your Website Speed: Unlock the Power of SSD NVMe and Unlimited Bandwidth – 7 Hosting Secrets You Must Know

SSD NVMe Hosting with Unlimited Bandwidth

In today’s digital age, your website is often your first impression. Whether you run ...


LinuxTutorial

How to Install and Secure Redis on Debian

Redis is a versatile, high-performance, in-memory database widely used for caching, real-time analytics, and as a message broker. In ...


LinuxTutorial

How to Install Java 23 on Debian 10, 11, or 12

If you're working on a Debian-based system (Debian 10, 11, or 12) and need to install the latest Java ...